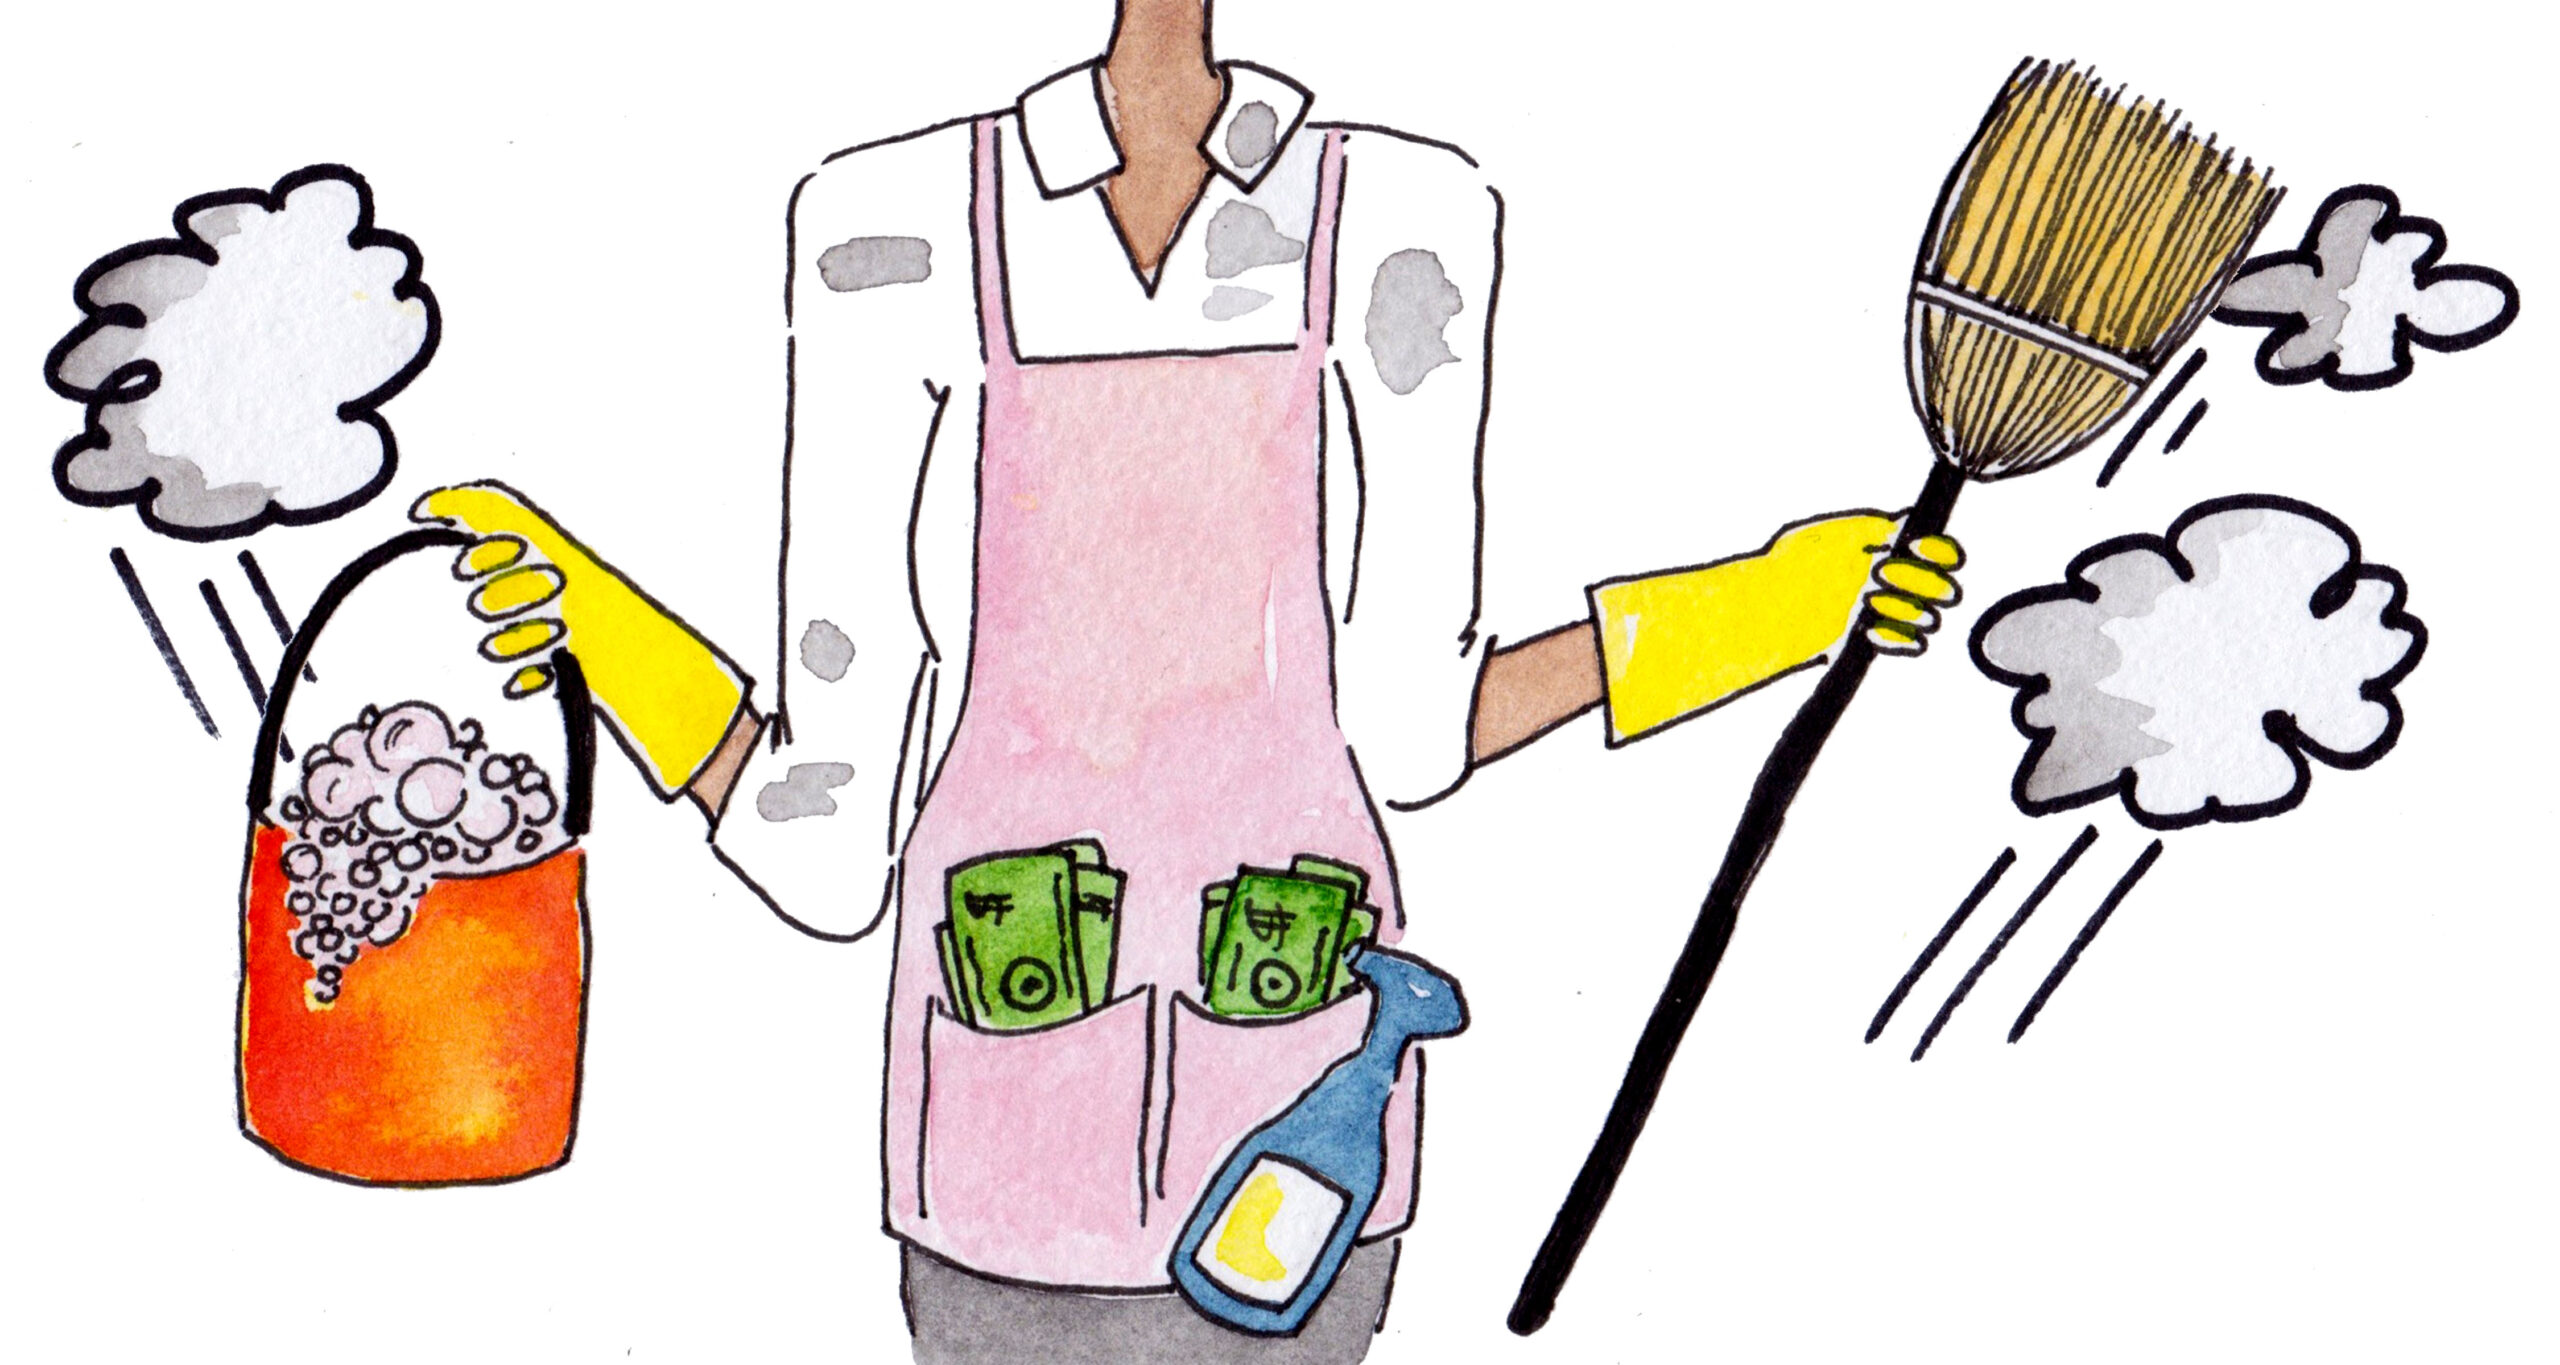
Spring Cleaning Checklist for Every Room
Spring is the perfect time to give your home a thorough deep clean and reorganization. This room-by-room checklist covers all areas of the house, including the kitchen and bathrooms, bedrooms, living spaces, and outdoor areas. This ensures no detail is overlooked. We’ve also included all the cleaning supplies and tools you’ll need. There are eco-friendly alternatives to help you tackle each task effectively.
Cleaning Supplies and Tools to Gather First
Assemble a cleaning caddy with all necessary products and tools before you begin. Having supplies in a portable container saves time and keeps you organized. Stock up on reusable, eco-friendly items like microfiber cloths instead of disposable wipes. Consider using natural cleaners like vinegar or baking soda to reduce harsh chemicals. Below is a checklist of cleaning essentials to prepare:

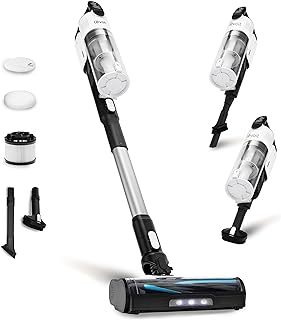
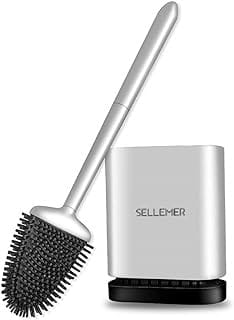
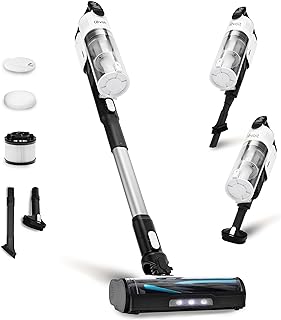
- Basic Tools: You need microfiber cloths and soft rags. Gather sponges, scrub brushes, A mop, and a bucket. Don’t forget a broom and dustpan. A vacuum cleaner with attachments is useful. An extendable duster is helpful for hard-to-reach areas. Don’t forget a step stool or ladder for high spots and a
- toilet brush dedicated for bathroom use. Wear rubber gloves to protect your hands.
- Other Essentials: Trash bags collect garbage or donations while decluttering. Use a bucket caddy or tote to carry supplies, room to room. Use microfiber or electrostatic dusting cloths. Also, old newspapers to wipe glass and mirrors — are great for streak-free shine without lint. Consider having storage bins or boxes for organizing items and separating things to donate or store.
With your toolkit ready, follow the step-by-step checklists for each room below. Work from the top of a room down to the floors to prevent dust or dirt from re-contaminating cleaned areas. Remember to open windows to ventilate when using cleaners. This is especially important in places like the bathroom or when using more potent products.
Kitchen Deep-Clean Checklist
The kitchen collects a lot of grime and clutter over time, so deep cleaning here will make a huge difference. Tip: Tackle the refrigerator and oven early, since they often need time (e.g. for soaking or self-clean cycles). Use gentle, food-safe cleaners in areas where you store or prepare food. Vinegar and baking soda are great natural choices in the kitchen. Work through the following steps to get your kitchen spotless:
- Declutter & Organize: Start by clearing countertops and cabinets. Remove all items from your pantry, fridge, and cabinets. Discard any expired food or spices and donate unopened extras you won’t use. Wipe down pantry shelves. Clean the inside of cabinets. Then, put items back in an organized way. Group similar items together. This makes it easier to clean surfaces and ensures you only keep what you need.
- Dust High Surfaces: Dust the ceiling corners, light fixtures, cabinets, and fridge tops. Grease and dust can accumulate on high surfaces in the kitchen. Use an extendable duster or a clean microfiber cloth. Don’t forget to dust refrigerator coils on the back or bottom of your fridge. Dusty coils make the fridge work harder. If your fridge has a grill cover at the bottom, pop it off and vacuum behind it.
- Clean Appliances: Deep clean all appliances one by one:
- Refrigerator: Empty the fridge and defrost the freezer if there’s ice buildup. Remove shelves and drawers. Wash them with warm soapy water. If they fit, you can put refrigerator shelves in the dishwasher. Wipe the interior walls with a mild cleaner or a mix of vinegar and water. Dry everything and return food (wipe jars/bottles before putting them back).
- Oven & Stovetop: If you have a self-cleaning oven, run the cycle as instructed (ensure good ventilation). Otherwise, an oven cleaner should be applied to the oven’s interior. Alternatively, use a baking soda paste by mixing baking soda with water. Let it sit to loosen grime. Then scrub and wipe clean. Don’t forget the oven door glass – use a glass scraper or paste for stuck-on grease. Remove stove burner grates and drip pans (soak in hot soapy water), then scrub the stovetop.
- Microwave: Place a bowl of water with lemon slices or vinegar in the microwave. Run it for a few minutes to steam-loosen splatters. Wipe the interior with a damp cloth. Clean the exterior and touchpad with a gentle cleaner.
- Other Appliances: Wipe down smaller appliances like the toaster, coffee maker, blender, etc. Pay attention to crevices and knobs. Move appliances like the fridge or stove slightly away from the wall. Clean the floor and wall behind them. Lots of crumbs and grease hide there.
- Floor & Finishing Touches: Finally, sweep or vacuum the kitchen floor to pick up all debris. Then mop the floor with a suitable cleaner. Use a floor cleaner that is safe for your floor type. For example, a mild vinegar solution works well on many tile floors as a non-toxic option. Remove the trash and wipe down the trash can before putting in a fresh liner. Finish by putting back any items that belong in the kitchen, making sure everything is dried and gleaming. Now enjoy your clean, organized kitchen!
Bathroom Deep-Clean Checklist
Bathrooms require disinfecting and plenty of scrubbing. Make sure you cover every surface and work systematically. It helps to spray cleaners (shower, toilet, sink) first and allow some dwell time for tough grime before scrubbing. Use natural cleaners where possible. For example, vinegar is excellent for mineral deposits and baking soda for scrubbing scum. Also, have a disinfectant for toilets and areas that need it. Ventilate well (run the exhaust fan or open a window). Follow these steps for a sparkling clean bathroom:

- Dust and Ventilation: Before wet cleaning, dust the high spots. Use a long-handled duster or cloth to remove dust and cobwebs from ceiling corners and vents. Clean the exhaust fan cover—you can usually pop it off and wash it or vacuum the dust. Dust and wipe light fixtures (make sure they’re cool and turned off). Also, wipe down any windowsills or blinds in the bathroom.
- Sink & Counter: Spray the bathroom sink, faucet, and countertop with an all-purpose or bathroom cleaner. Scrub the sink basin; if there’s buildup, a bit of baking soda can help as a gentle abrasive. Clean around the faucet base and handles (use a toothbrush for tight spots). Wipe down the countertop and backsplash. Also wipe the cabinet fronts and drawer pulls. If you have soap dishes or toothbrush holders, wash those out. Clean the mirror above the sink with glass cleaner or vinegar and a lint-free cloth or newspaper to avoid streaks.
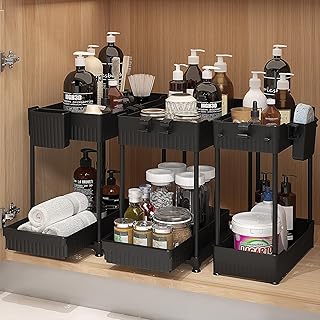
- Cabinets and Organizing: If you have time, deep clean inside bathroom cabinets or drawers. Remove all items. Wipe the inside with a damp cloth. Replace items neatly. It’s a good opportunity to create order (use small bins to categorize dental care, hair products, first aid, etc.). Ensure you have restocked essentials (toilet paper, clean towels, soap) so the bathroom is ready for use.
Bedroom Deep-Clean Checklist
A clean, organized bedroom helps improve rest and relaxation. Spring cleaning the bedroom goes beyond the usual tidying. It involves cleaning hidden dust under the bed and behind furniture. It also includes refreshing bedding and organizing closets. Aim to launder fabrics, rotate your mattress, and clear out clutter for a truly refreshed space. Tackle each bedroom with these steps:
- Bedding Laundry: Strip the bed completely – remove sheets, pillowcases, duvet covers, mattress protector, etc. Launder all bedding in hot water if possible (to kill dust mites). This includes washing bulky items like the comforter or duvet (if it’s washable) and pillows as well. Many pillows can be machine washed gently; if not, consider airing them out in sunlight. Tip: Add a couple of clean tennis balls or dryer balls to the dryer with pillows to fluff them. Start the laundry first so these items wash while you do other tasks.
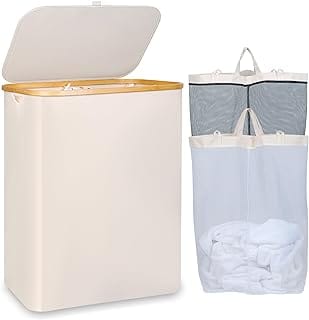
- Declutter & Organize: Go through your closets and dressers. Remove everything from the closet, and wipe down closet shelves and drawers. Set aside clothes that you no longer wear to donate. Organize the clothes you keep by category (and season) as you put them back. Do the same for your dresser – fold clothes neatly and consider using drawer organizers. A good rule of thumb: if you haven’t worn it in over a year, consider letting it go. Also, declutter nightstands or any other storage space (remove trash, old magazines, etc.).
- Furniture & Surfaces: Wipe down all surfaces, including dressers, nightstands, headboards, lamps, and decorative items. Use a soft cloth and appropriate furniture polish or cleaner for wood furniture. For electronics in the bedroom (TV, computer, etc.), dust the screens and vents gently (unplug first)—use dry microfiber for screens.
- Clean mirrors and any glass surfaces with glass cleaner or vinegar and a lint-free cloth. If you have lampshades, use a lint roller or vacuum attachment to remove dust.
Living Areas Deep-Clean Checklist (Living Room, Dining Room & Common Areas)
Living rooms and other common areas see a lot of activity. They accumulate dust in corners, crumbs in cushions, and general clutter. Spring cleaning these spaces will likely involve moving cushions and furniture, cleaning textiles, and organizing shelves. The goal is to get everything from the ceiling to the floor cleaned. Repeat these steps for each living area (family room, dining room, playroom, etc.) as applicable:
- Declutter & Organize: Begin by removing or tidying any clutter. Put away stray items that belong in other rooms. Go through bookshelves, media centers, or cabinets and straighten up or purge items. Store toys in bins, recycle old magazines or newspapers, and organize remote controls or game controllers in one place. Clearing the clutter now makes the deep cleaning more manageable.
- Dust around air vents on walls or ceilings. If you have tall cabinets or shelving, dust the top of those as well.
- Clean Walls & Windows: Spot-clean walls where you see smudges or dust (especially around switch plates and door frames). Dust and wipe down window sills, trim, and blinds. For blinds, you can use a damp cloth. Alternatively, use a specialty blind cleaner. An old sock on your hand works to wipe each slat easily. Launder any curtains or drapes from these rooms according to their care instructions. Many can be machine washed. They can then be hung to dry. Clean the window glass with a streak-free glass cleaner or vinegar solution. Don’t forget to wipe interior side of window panes and clean any window tracks of dirt.
- Dust Furniture & Decor: Dust all surfaces on the walls and on furniture. This includes shelves, the entertainment center, coffee table, end tables, picture frames, and knick-knacks. Remove books and decor from shelves and dust the surfaces beneath; also dust the items themselves before returning them. Use a vacuum with a brush attachment to gently clean lampshades or fabric decor. For wooden furniture, dust first, then use polish if needed. Electronic devices (TV screens, etc.) should be dusted with a dry soft cloth. Tip: Use a dryer sheet to wipe baseboards after dusting them – this can help repel dust and pet hair.
- Upholstery & Fabrics: Remove seat cushions and pillows from couches and chairs. Vacuum upholstered furniture thoroughly, getting into crevices and under cushions. If cushions have covers that can be removed, take them off and launder them (along with any throw blankets). You can also take cushions or rugs outside and beat them to remove dust. Spot-clean any stains on furniture with appropriate fabric cleaner. Vacuum fabric ottomans or pet beds in the living area as well.
- Flooring: Finish with the floors. If you have carpet, meticulously vacuum it (go over high-traffic areas slowly and in multiple directions). Consider renting a carpet cleaner or hiring a carpet cleaning service if the carpet is filthy or hasn’t been deep cleaned in a while. For hard floors (wood, laminate, tile), begin by vacuuming or sweeping. This will pick up debris and dust. Make sure to get under furniture and in corners. Then mop the floors with a cleaner suitable for the material – for wood, use a wood-floor cleaner (avoid excessive water); for tile, an all-purpose or vinegar solution works. Don’t forget area rugs – vacuum them, roll them up to clean underneath, and mop the floor where the rug sits.
- Finishing Touches: Return the clean cushions and pillows to furniture, and lay down rugs again. Wipe any remaining smudges on light switches or remote controls with a disinfecting wipe. Finally, air out the room by opening windows. You might also run a fan for a while to let out any dust. This will bring in fresh air. Enjoy your neat and tidy living area!
Outdoor Spaces Spring Cleaning Checklist
Don’t neglect your outdoor areas – they are part of your home’s first impression and deserve a spring refresh too. Tackle the porch, patio, yard, and garage/shed if you have them. Outdoor cleaning often involves removing leaves and dirt and prepping your yard for warmer weather. Choose a dry day for these tasks and dress appropriately for working outside. Here’s a checklist to get your outdoor spaces ready for spring:
- Porch/Entryway: Clear away any clutter or winter items (snow shovels, boots, etc.). Sweep the porch, steps, and walkways to remove dirt, leaves, and cobwebs. Shake out the doormat (or hose it down if needed, or replace it for spring). Wipe down the front door, door handle, and frame – use a mild soap solution to remove grime. If you have porch lights, wipe those and replace any burnt-out bulbs.
- Patio/Deck: Sweep or use a blower to clear debris from your deck or patio. Scrub the deck boards or patio surface. Remove algae or dirt buildup. You might use a deck cleaner or simply a brush and soapy water for concrete. marthastewart.com. For wood decks, check for any loose boards or re-staining that is needed. If you notice mildew on any outdoor surfaces (siding, deck, etc.), treat it with a vinegar solution or a commercial mildew cleaner marthastewart.com. Rinse surfaces with a hose.
- Outdoor Furniture: Clean outdoor furniture and cushions so they’re ready for use. Wipe down plastic or metal furniture with soapy water or a vinegar-water mix. For wooden furniture, use a wood cleaner or oil as appropriate. Remove and launder fabric cushion covers if they’re washable. Alternatively, spot clean them and let them air dry in the sun. For wicker furniture, a gentle hose down and brushing can remove dust.
- Yard & Garden: Rake up any remaining autumn/winter debris from the lawn and garden beds. Trim overgrown bushes or prune plants that need shaping, especially around entryways and walkways. Remove any dead plants and plan spring planting if you have a garden. Clean and sharpen garden tools – some vinegar can remove rust from tools. This is also a good time to check your outdoor faucets and hoses for leaks after winter.
- Garage/Shed (if applicable): Open your garage or shed and air it out. Sweep the floor to remove dust, leaves, and dirt.
- Organize tools and equipment. Store winter gear like snow blowers or holiday decorations towards the back. Bring spring/summer items like lawnmower, bikes, and patio umbrellas forward for easy access. Wipe down surfaces and toss any trash. Check that chemicals (fertilizer, pesticides, etc.) are stored safely out of reach of children/pets and that any spills are cleaned.
- Final Outdoor Touches: Inspect outdoor lighting and replace bulbs or repair fixtures as needed (safety first – turn off power if fiddling with electrical fixtures). Check outdoor furniture cushions and fabrics for dryness and put them back in place for use. Set up any decor (outdoor rugs, throw pillows rated for outdoors, planters with fresh flowers) to make your outdoor space inviting after all the cleaning. With the patio scrubbed and furniture cleaned, your outdoor areas will be ready to enjoy during the warmer months.


Tips for Maintaining Your Spring-Cleaned Home: Now that you’ve done a comprehensive spring cleaning, keep up by doing more minor regular cleanings. For example, a quick weekly dusting and floor vacuuming can prevent buildup. Store your cleaning supplies together (and easily reachable) to make touch-ups convenient. Also, consider using natural cleaners regularly – they are gentle on surfaces and the environment. Following this detailed checklist, you’ve tackled every nook and cranny of your home, leaving it clean, organized, and refreshed for spring! Enjoy your sparkling home and the satisfaction of a job well done.
